How To Get Started
Welcome to your journey into the world of electronics! If you’ve never touched a microcontroller or heard of an Arduino before, don’t worry—this page is here to guide you every step of the way. By the end, you’ll know what an Arduino is, what it can do, and how to start your very first project.
What Is an Arduino?
Think of an Arduino as the brain of your project. It’s a tiny computer (called a microcontroller) that you can program to control lights, motors, sensors, and more. The best part? It’s designed to be easy for beginners, with a simple plug-and-play setup and lots of online resources.
What Can an Arduino Do?
With an Arduino, you can:
- Light up LEDs in patterns.
- Sense temperature, light, or motion.
- Control small motors to make things move.
- Communicate with your computer or other devices.
- Build creative projects like light shows, robots, or smart devices.
What Do You Need to Start?
To begin, you’ll need a few things, the basics to start out will be listed below, however, you can also buy this All-in-one kit described below.
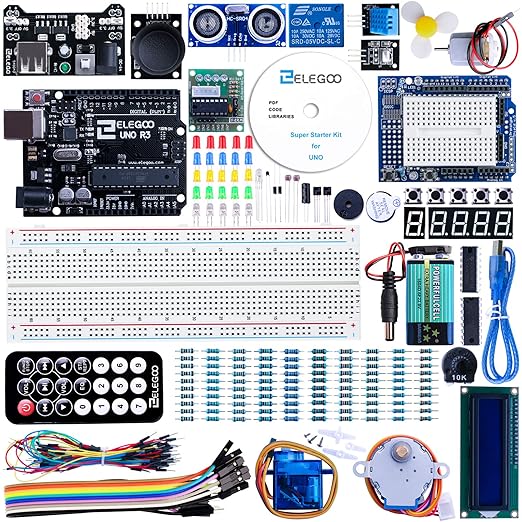
All-In-One Kit with Microcontroller and Components
This all-in-one kit from Elegoo includes everything listed below, and more. There are countless projects you can build with this kit. This kit includes motors, ultrasonic sensors, 7-segement displays, as well as a screen.
This kit is our recommendation.
Listed below are each of the components separately, as well as links to amazon to purchase them, as well as the steps to start your first project.
1. The Arduino Board
The most common board for beginners is the Arduino Uno. It has all the features you need to start learning without being too complex.
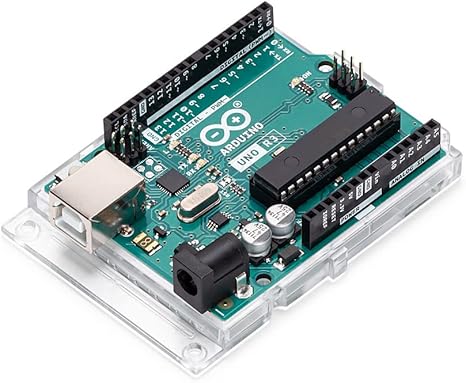
Arduino Uno Rev3
(Typically around $25 USD)
While it is not necessary, if you would like to get a more upgraded board, the Arduino Uno Rev4 is also a great option. This board also comes with built-in WIFI and Bluetooth. However, this uses a USB-C cable instead of a USB 2.0 Type A/B.
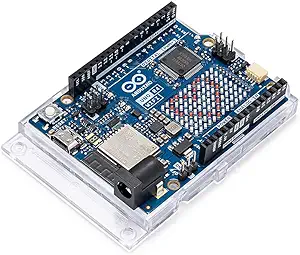
Arduino Uno Rev4
(Typically around $30 USD)
Another affordable alternative option is the Elegoo Uno Rev3 board, this has all of the same functionality as the Arduino Uno Rev3 board, at a lower price.
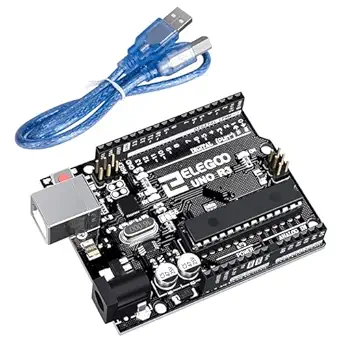
Elegoo Uno Rev3
(Typically around $15 USD)
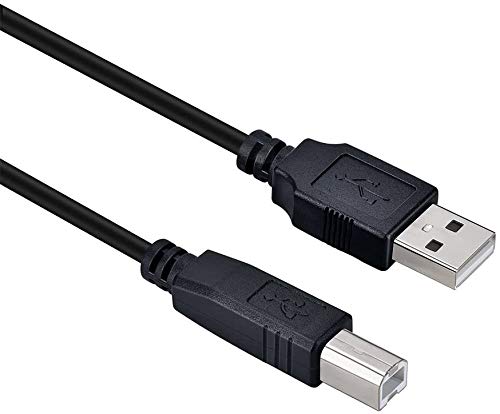
2. A USB Cable
This connects the Arduino to your computer so you can upload code. Most Arduino kits include one but double-check if you’re buying it separately, here are some options below, however, verify that this is the correct cable for the board you will be using.
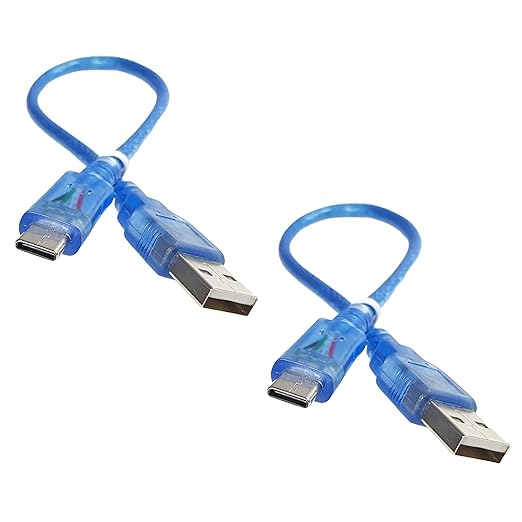
Cable For Arduino Uno Rev4
3. Basic Components
To build your first project, you’ll need:
- LEDs: Small lights that you can turn on and off. Buy a starter pack here.
- Resistors: These protect the LEDs from getting too much power. Get a set here.
- Breadboard: A reusable board for connecting components without soldering. Find one here.
- Wires: Jumper wires make the connections between the Arduino and components. Pick some up here.
Often these listed parts come in a single kit, like this one on amazon.
4. Arduino Software (IDE)
Download the free Arduino IDE (Integrated Development Environment) from the official Arduino website. This is the program you’ll use to write and upload code to your board.
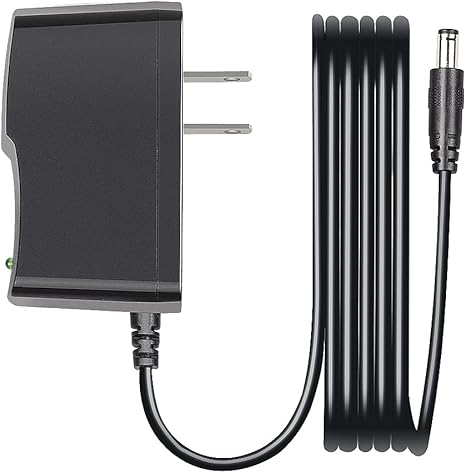
5. Power Supply
Most Arduinos can be powered via USB, but you can also use batteries or a wall adapter for standalone projects.
Here’s a versatile power adapter.
How to Set Everything Up
- Install the Arduino IDE: Download and install the software on your computer.
- Connect the Arduino: Use the USB cable to connect the Arduino to your computer.
- Write Your First Code: Open the Arduino IDE and try the “Blink” example (found under File > Examples). This makes an LED on the Arduino blink.
- Build Your Circuit: Plug components into the breadboard and connect them to the Arduino using jumper wires.
- Upload Your Code: Click the upload button in the IDE to send the code to your Arduino.
- Watch It Work: Your project is now alive!
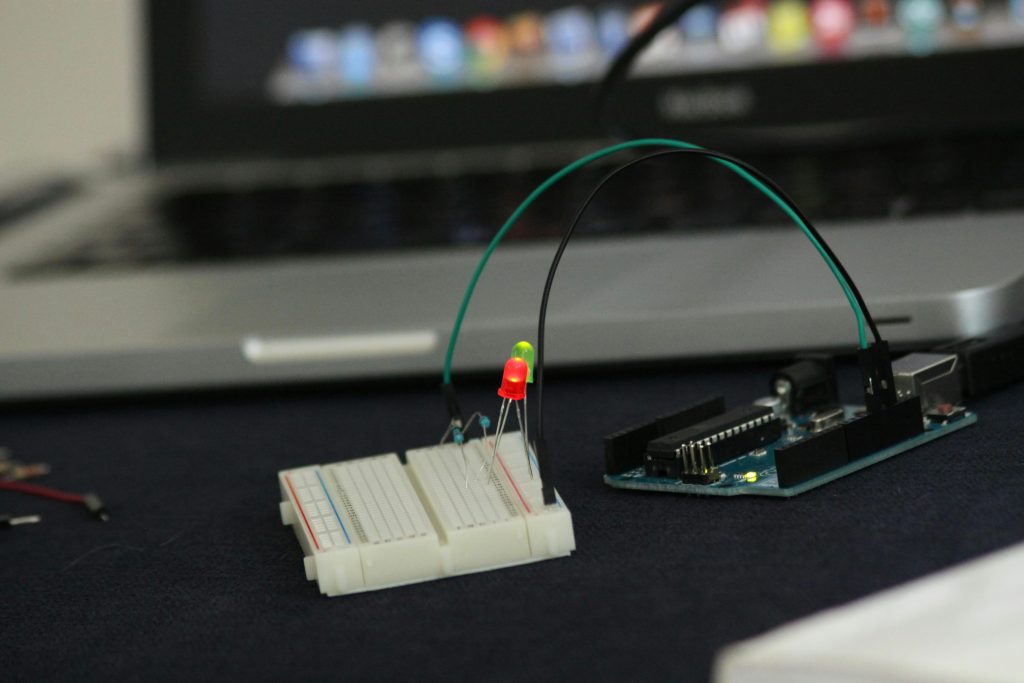
A Beginner’s Project: Lighting Up LEDs
Click below to try your first project—lighting up an LED. This simple exercise will teach you the basics of programming and building circuits. Start the LED Project!
What About Other Microcontrollers?
While Arduino is a fantastic starting point, it’s just one option. Other microcontrollers, like the Raspberry Pi, ESP32, or STM32, have unique strengths:
- Raspberry Pi: More like a mini-computer, great for projects needing an operating system.
- ESP32: Perfect for projects needing Wi-Fi or Bluetooth connectivity.
- STM32: Offers powerful performance for advanced users.
Each has its own ecosystem and learning curve, but Arduino remains a go-to choice for beginners because of its simplicity and wide community support.
We have a comparison for these different types of microcontrollers that you should check out if you are trying to decide which one is best for your project.